

A fellow potter at the studio was about to reclaim some practice pieces that they threw and didn’t want. One was a VERY thick little cup/vase that would take a long time to clean up and thin out. I offered to take and work it, because I need practice with trimming. I don’t trim much at the time because I hand build instead of throw.
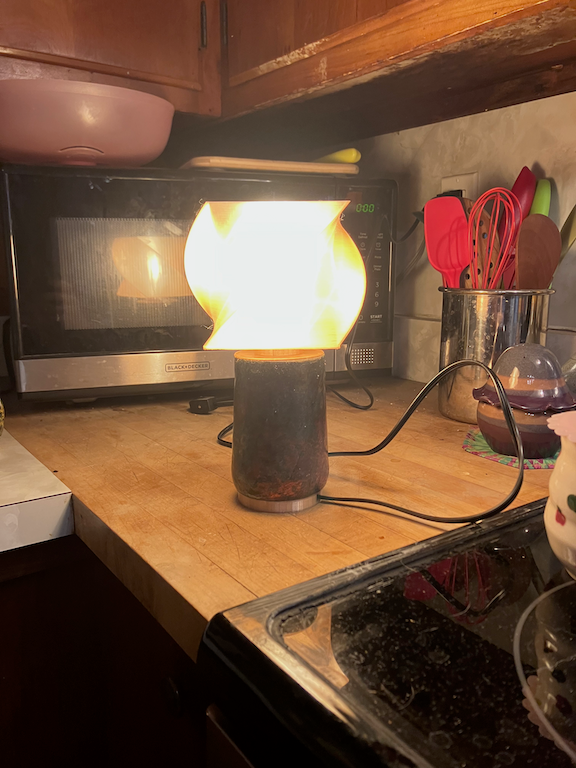
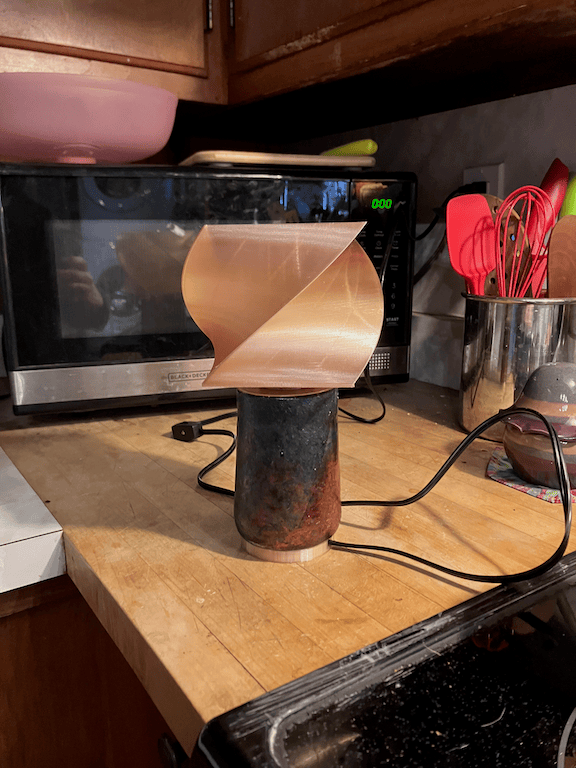
My intent was a planter. I put the whole in the middle first to see how thick the bottom was and to see if I really did want to trim it. Oh it was thicc boi. I trimmed it, an realized after the fact that the walls thickness was uneven so when I finished trimming, the center hole was off center. I tried to center it more and made the hole a bit TOO big for a planter. The idea of a lamp was in the studio zeitgeist, and I decide to make it a mini lamp. But only if it survived firing. I decided to try it in Raku because I didn’t have any pieces to go into the latest studio firing and I like to do Raku. I covered it in the most metallic studio glazes, half shiny, half matte. The split was a jaunty vertical angle. I didn’t expect much, so of course it came out amazing.
I went to hardware stores looking for lamp fixtures, and none would work. At the last store I checked, they had fixtures for pendant lamps, ones that hang down from the ceiling. I was pointing it up, but it looked like it would work. Spent $10 and brought it home.
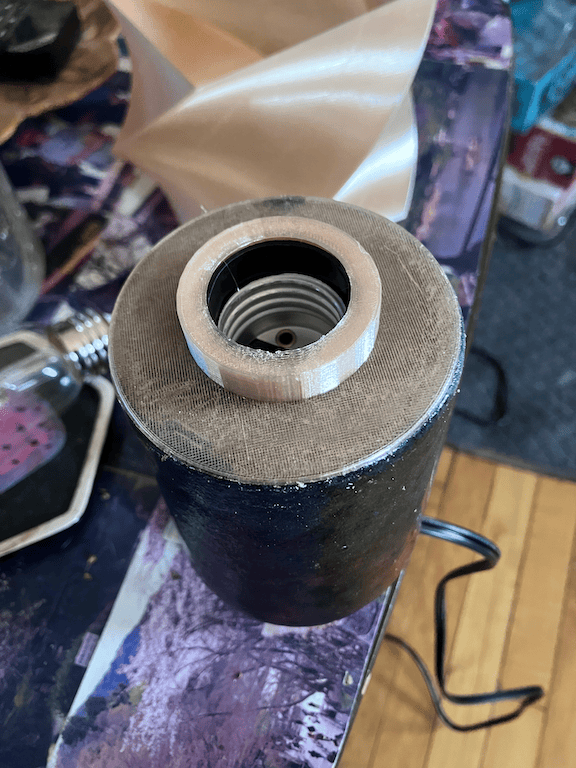
I needed some custom pieces to attach it to the pot and I needed a shade. I knew that shades were a thing in the 3D printing world, and I had a new 3D printer, so I did some research. I learned all about bulb and fixture sizes, and used online tools to make my custom pieces out of trial and error. (Thanks Tinkercad!) I found a public domain shade, and bought some new shiny filament that was also transparent.
I did some more research on bulbs. I was using PETG filament which can take higher heat than common PLA, but I still didn’t want my shade to melt. There were other filament types that took even higher heat, but my printer had an awful time printing them, and none were transparent. After some research, I found that newer LED bulbs worked fine with even PLA, because they gave off almost no heat. Purchased a couple and put the lamp together.
I had meant for the parts to screw to gether with a rod through the middle of the pottery. But my hole was off center, and my inital attempts were a disaster. I decided to try the potters friend E6000 glue. It bonded the plastic to the glazed pottery without melting the plastic. The bond was strong and the bits of glue that leaked out the seems were easily cleaned off.
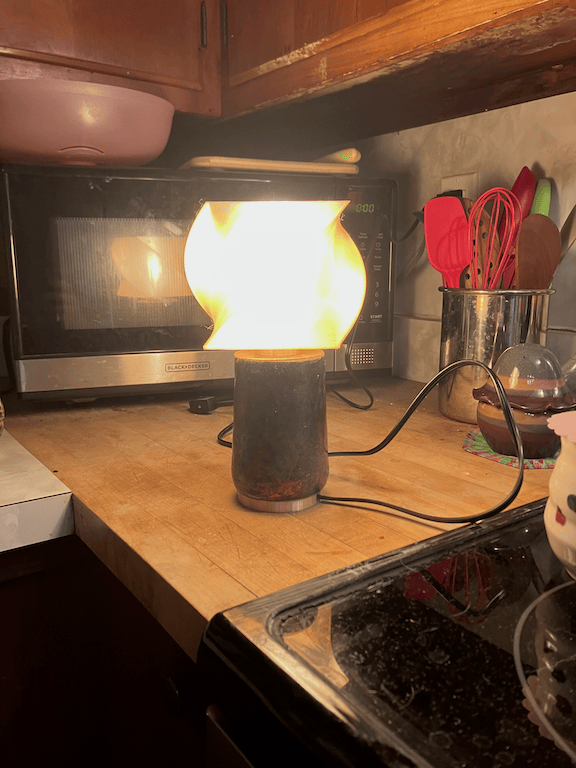
All of the parts themselves didn’t look all that amazing, but once assembled, the sum was greater than the parts. The lamp looked amazing, and it was actually too bright for a desk lamp, despite the shade. I let it run for a day and I could still touch the bulb safely. No problem or deforming of the shade.
The lamp cord has a switch, but the cord was 6 ft long. (It was meant to hang down from the ceiling), so I added a smart plug on the end and let Alexa turn it off and on in the room. I got a lower watt LED bulb, and I’ve used it ever since.
I got such a strong reaction from the community studio, and so many questions about how I did it, that I decided to make more lamps. I could combine 3D designs with fun glazes – but that’s another story.